
Have you ever made a Node.js app that works really well and gives users a great experience? Now, think about making it more secure to protect what you've created. In this blog, we'll explore how to use JWT (JSON Web Token) authentication in Node.js and Express.
What is JWT?
JWT, or JSON Web Token, is a compact way to transmit information between parties. It consists of three parts: a header specifying the type and signing algorithm, a payload with data, and a signature to verify the sender. It's commonly used for authentication and securely exchanging information in web development.
Why use JWT?
JWTs are like digital ID cards for the internet. They help websites know who you are without storing a lot of information about you. They're small, easy to use, and work well across different websites. With JWTs, websites can trust each other and communicate securely, making your online experience smoother and safer.

Refer to the GitHub link for the source code: Click Here
File Tree

Implementation
src/server.js
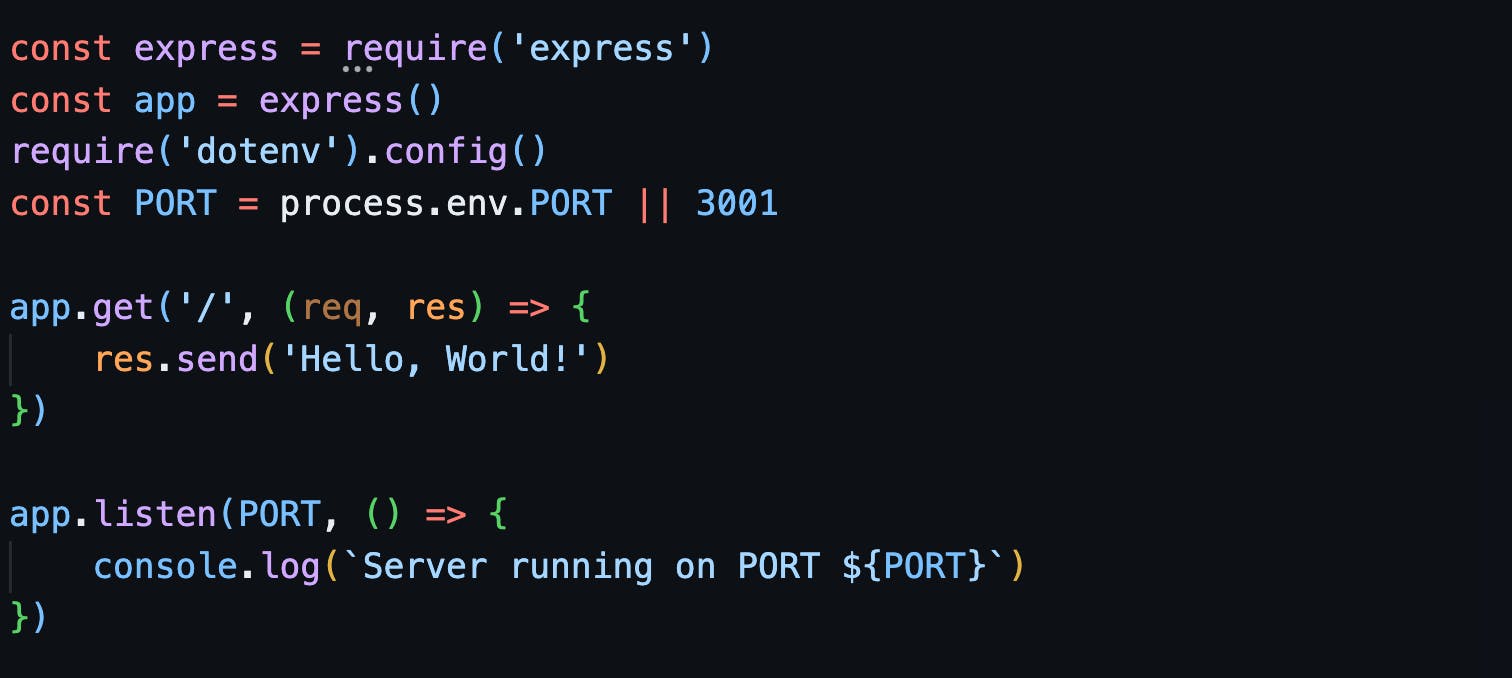
Installing all new dependencies.

Creating environment variables
create a .env in server directory

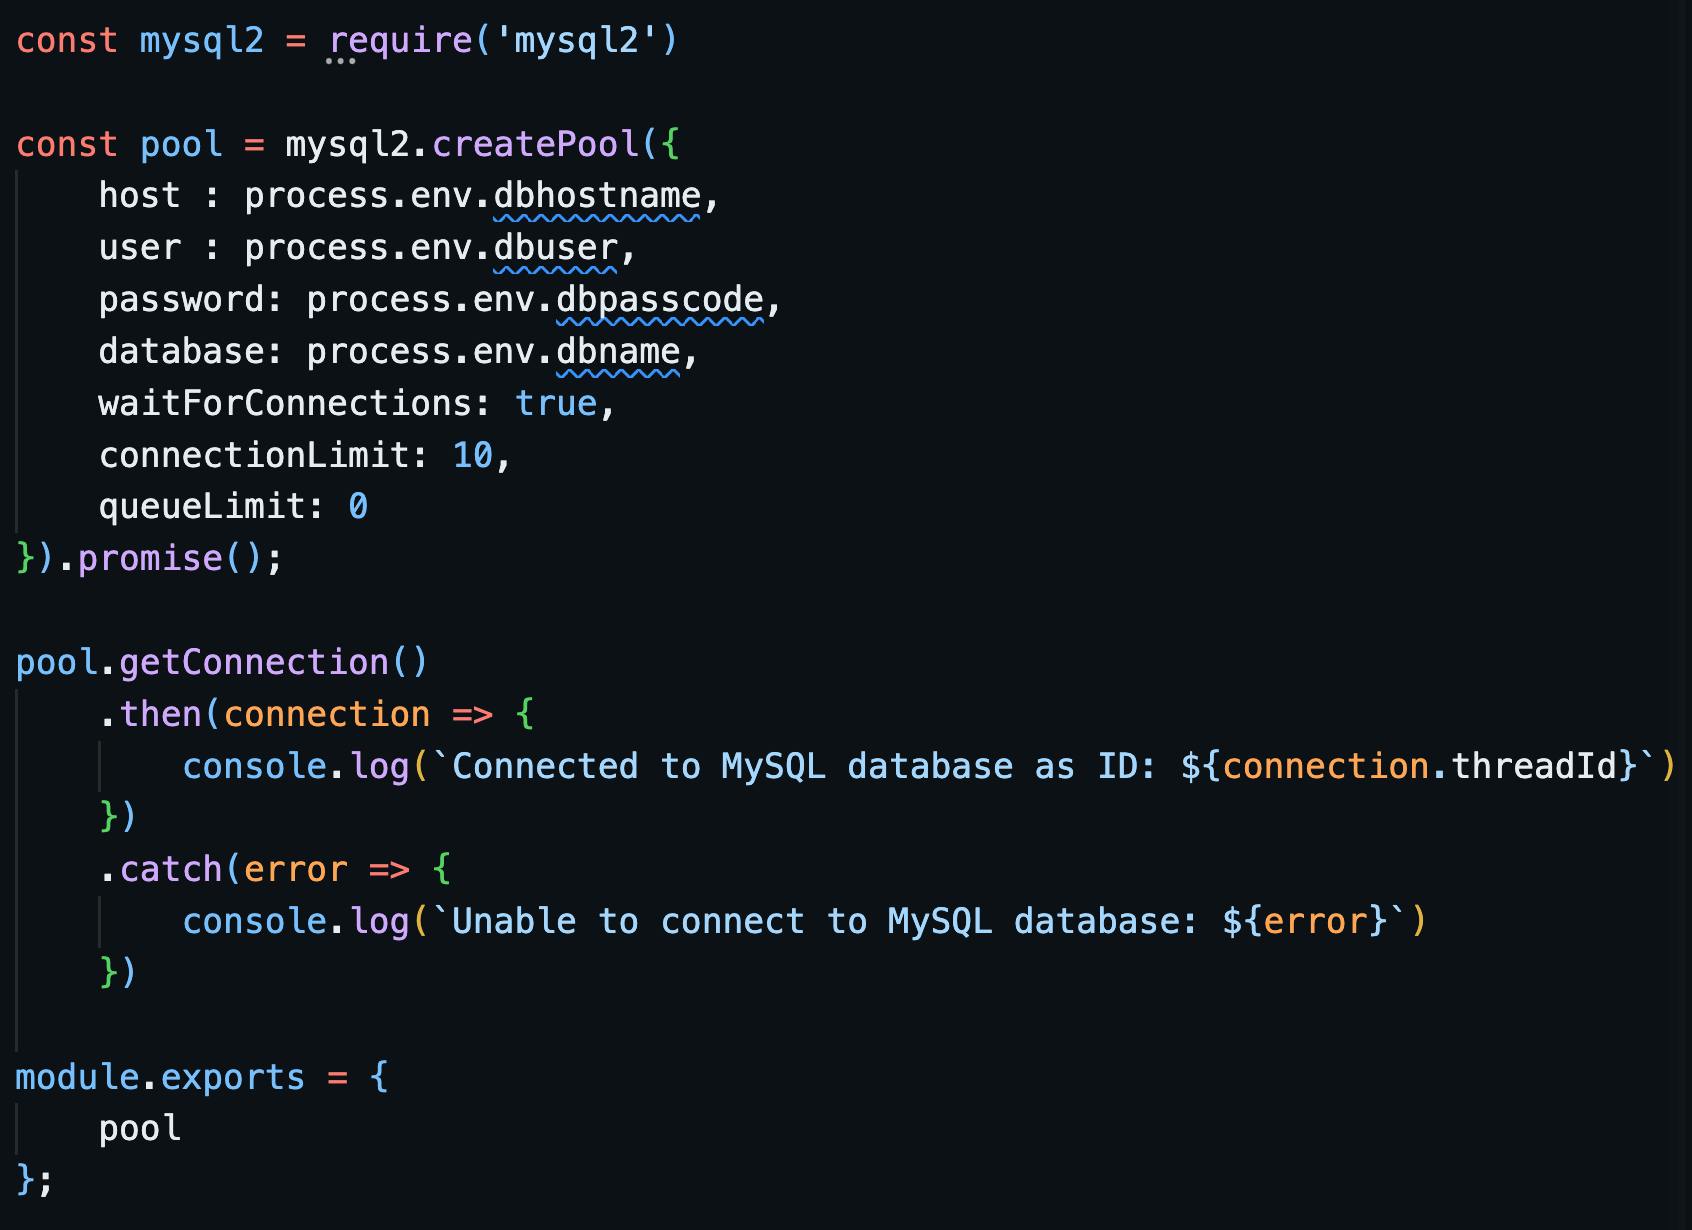
Establishing a connection to the MySQL database.
config/db.js
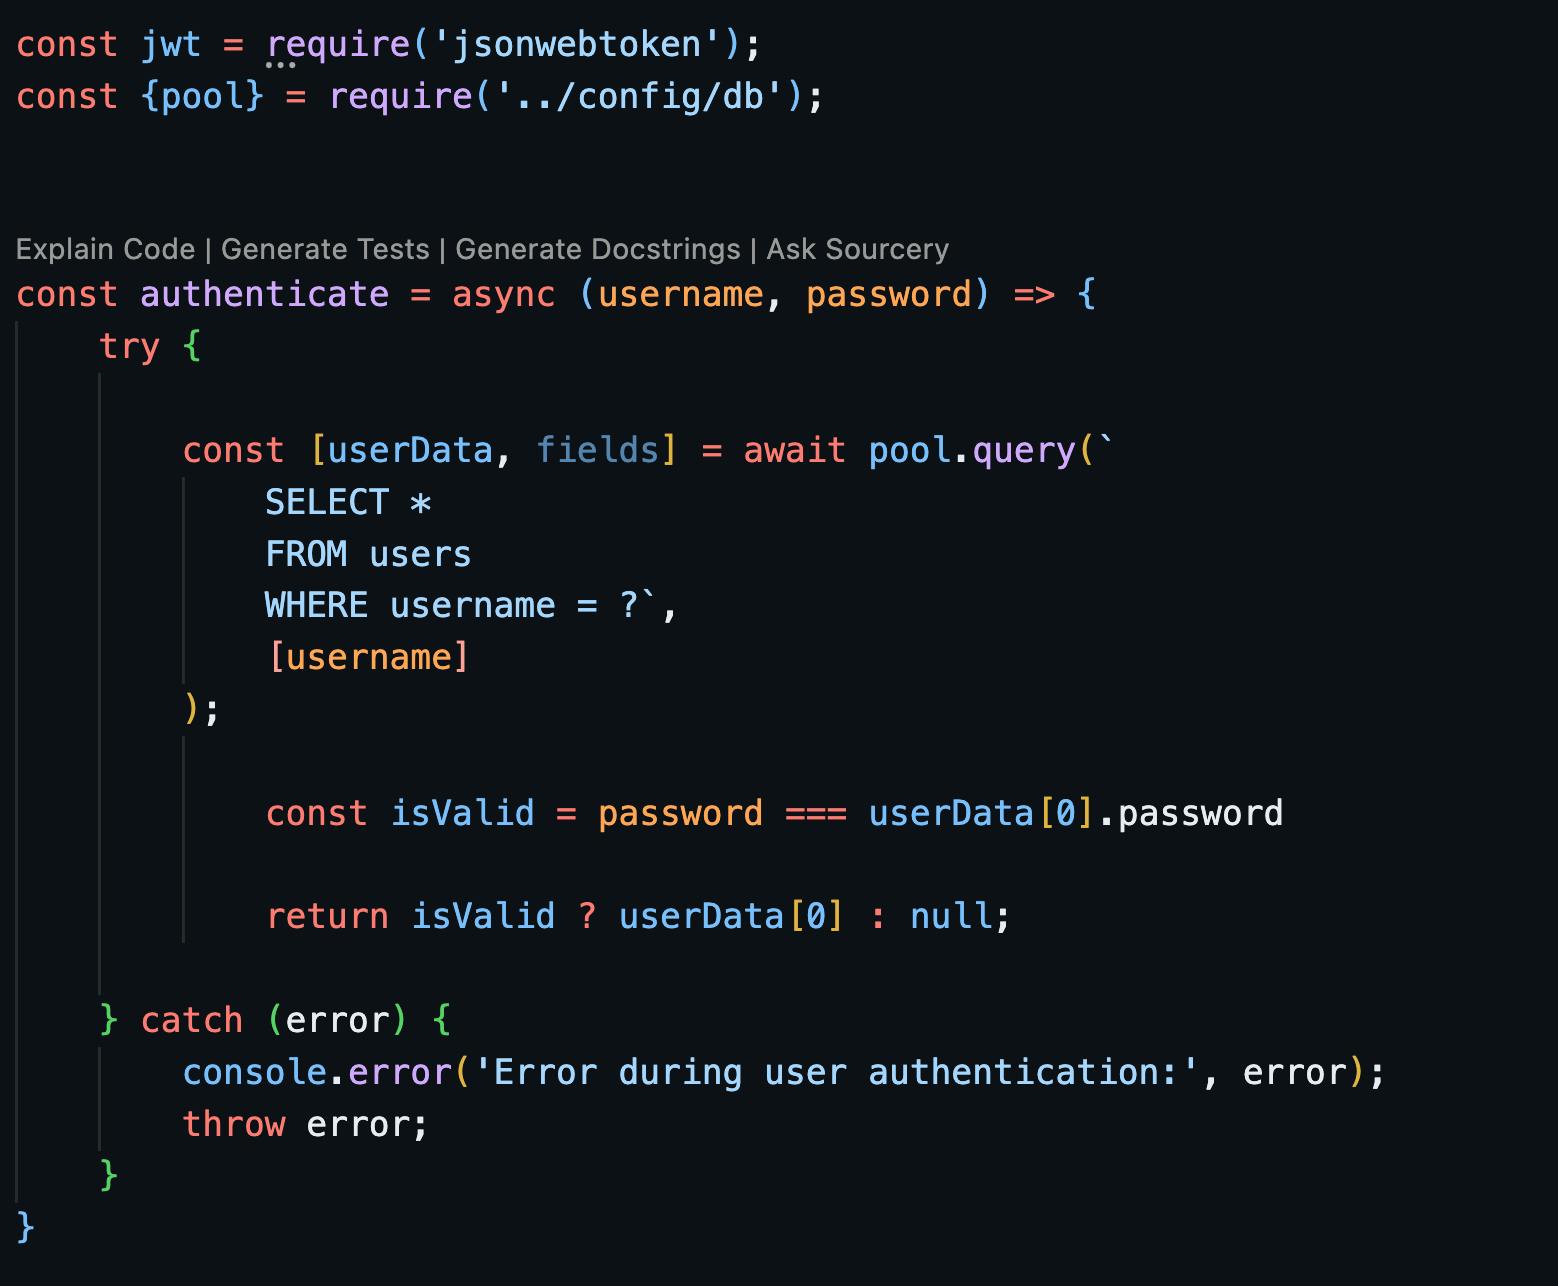
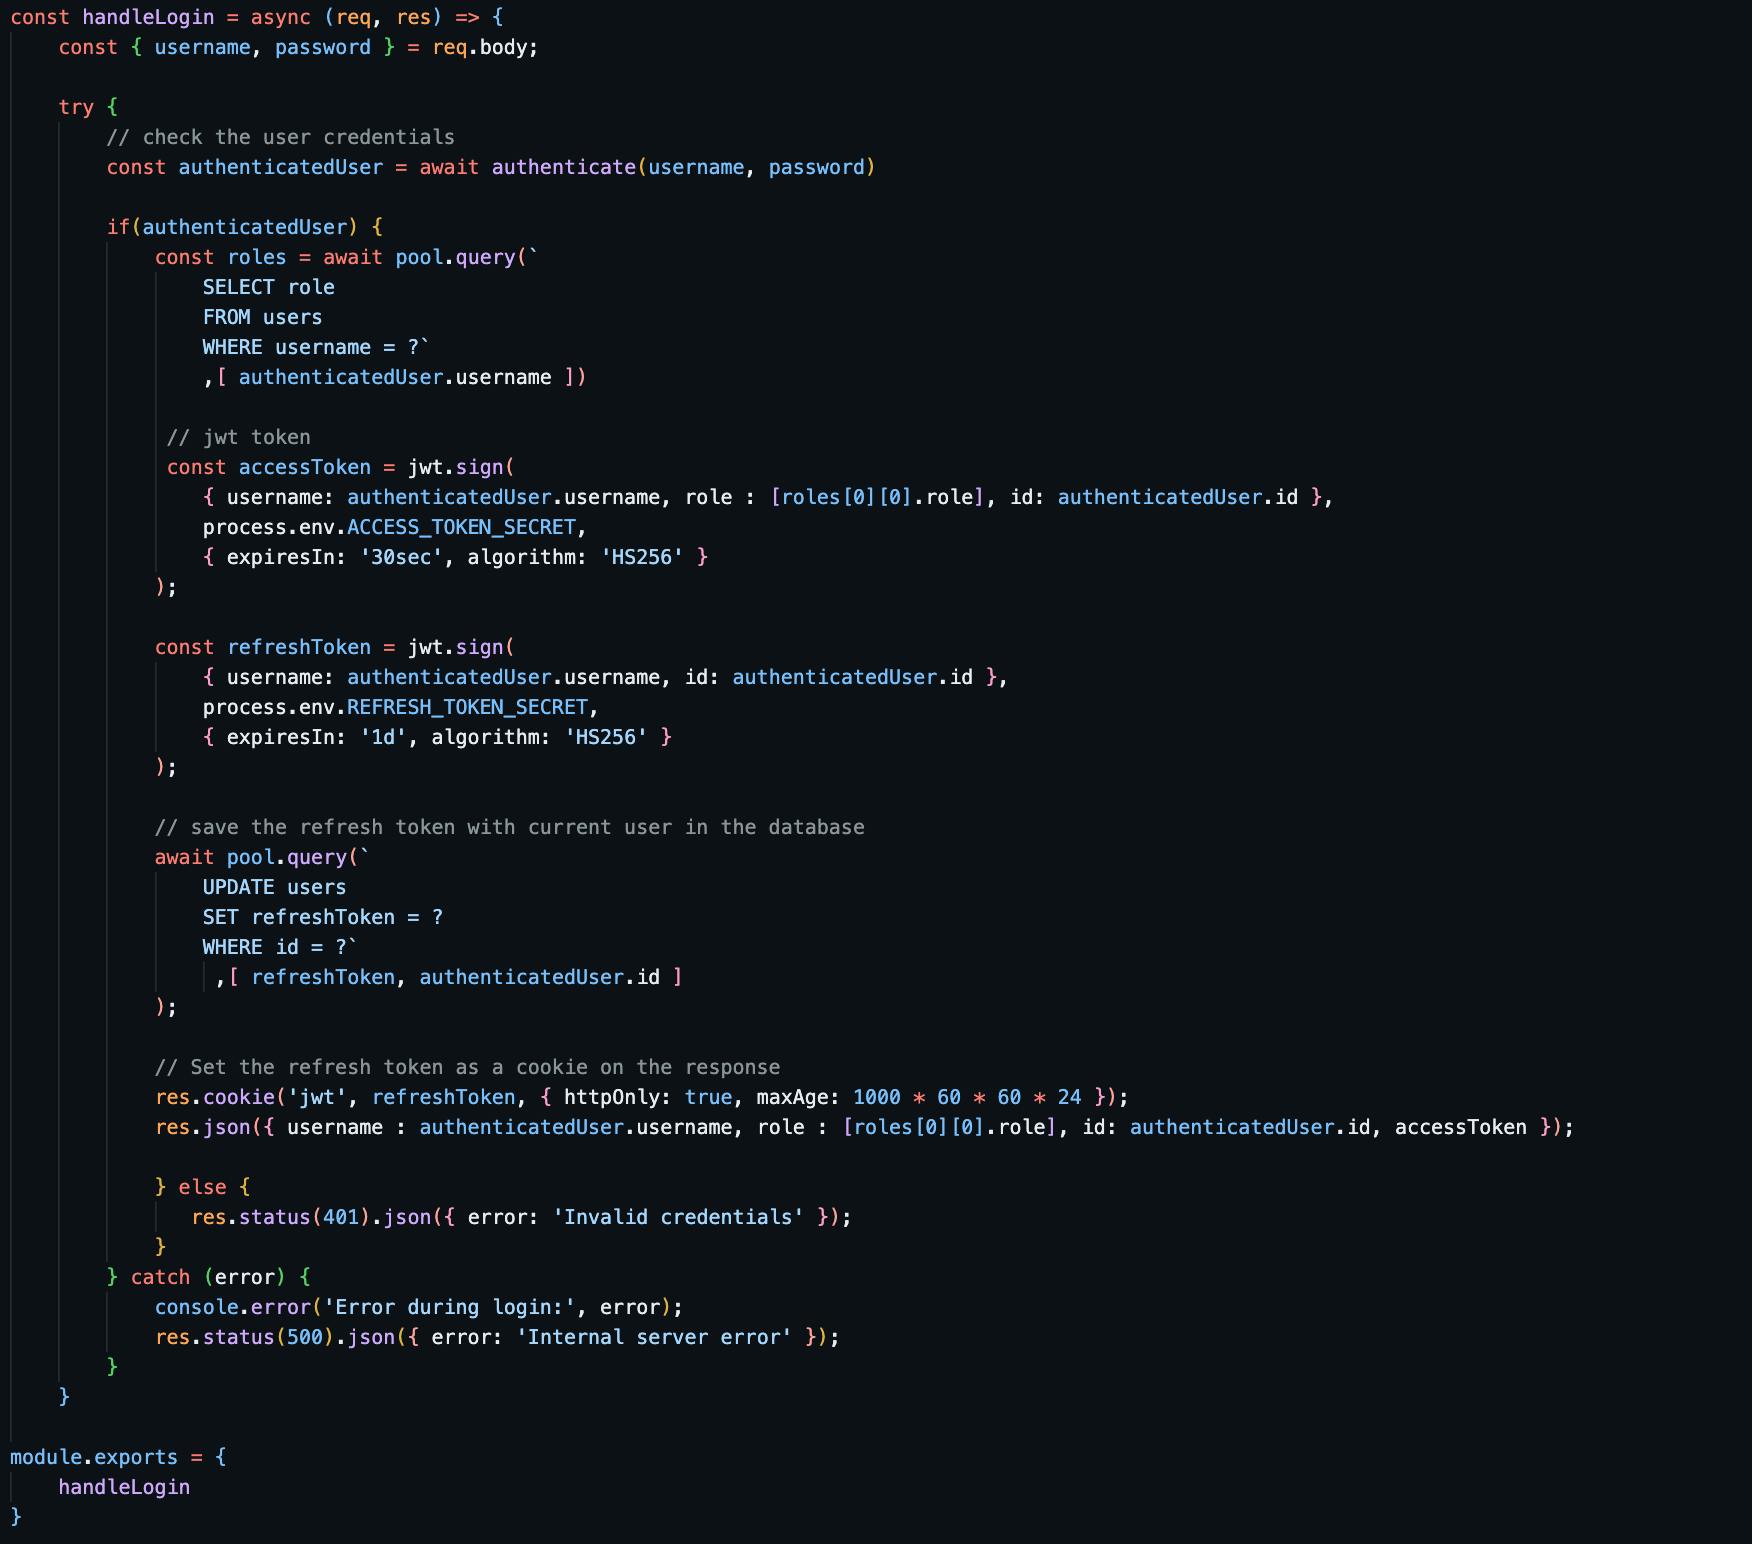
Creating JWT token controller
controller/authController.js
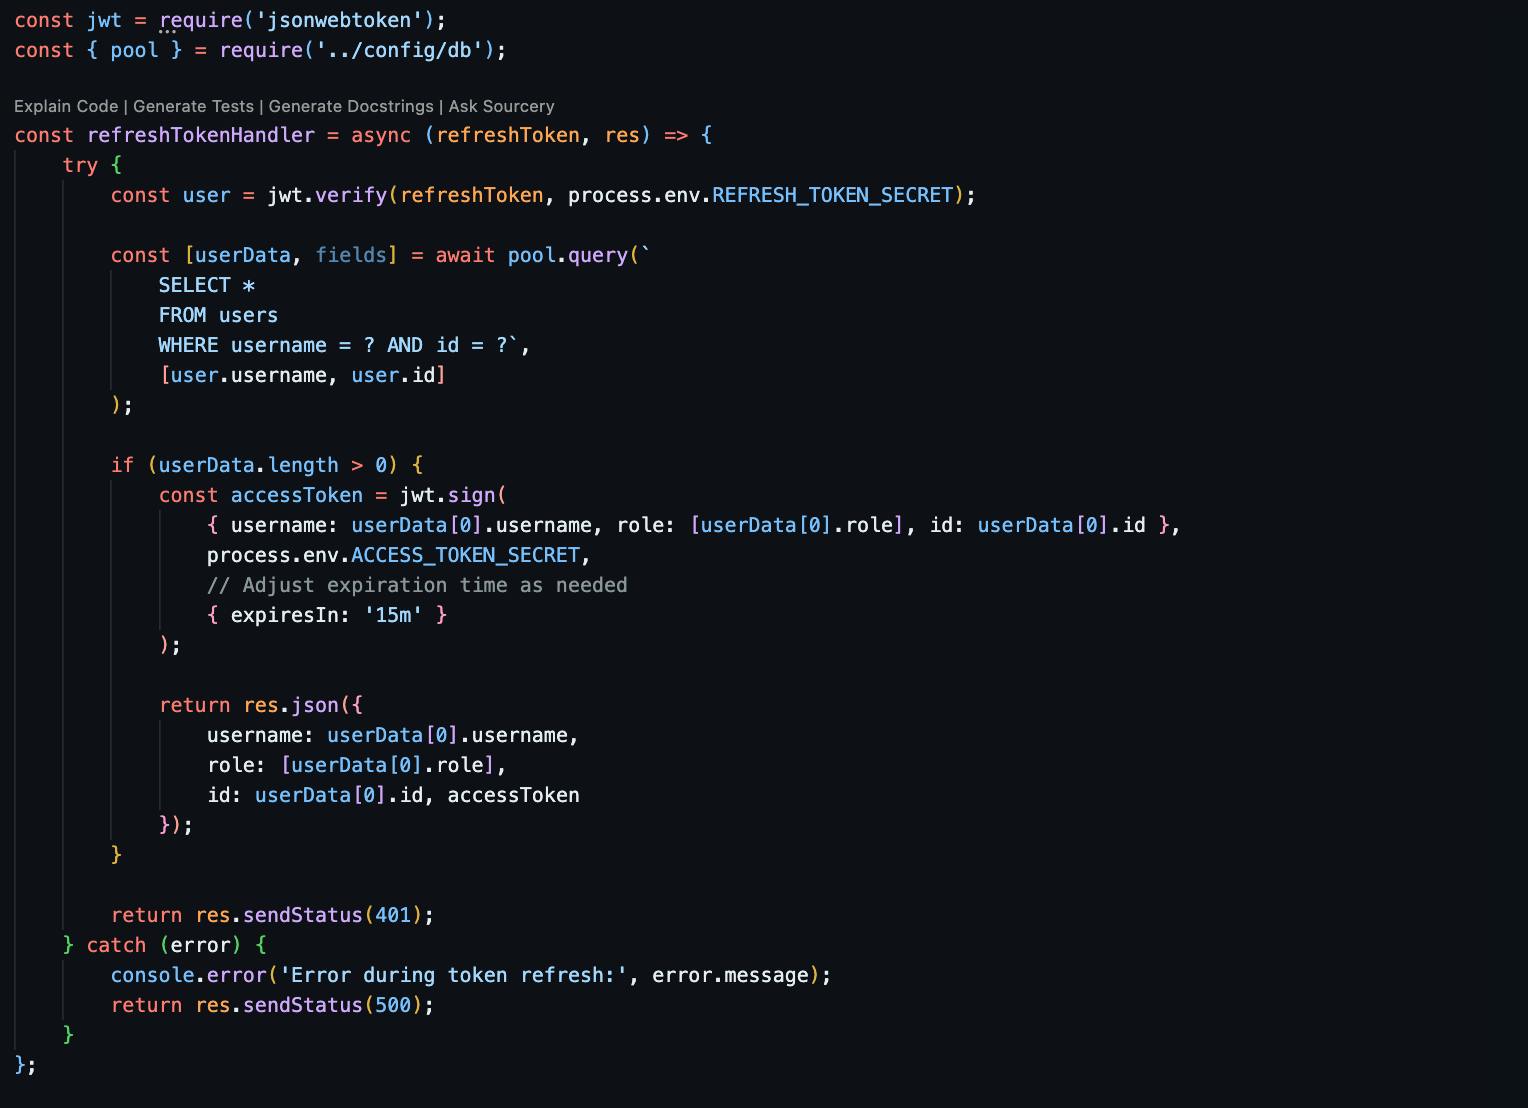
Creating Refresh token controller
controller/refreshController.js
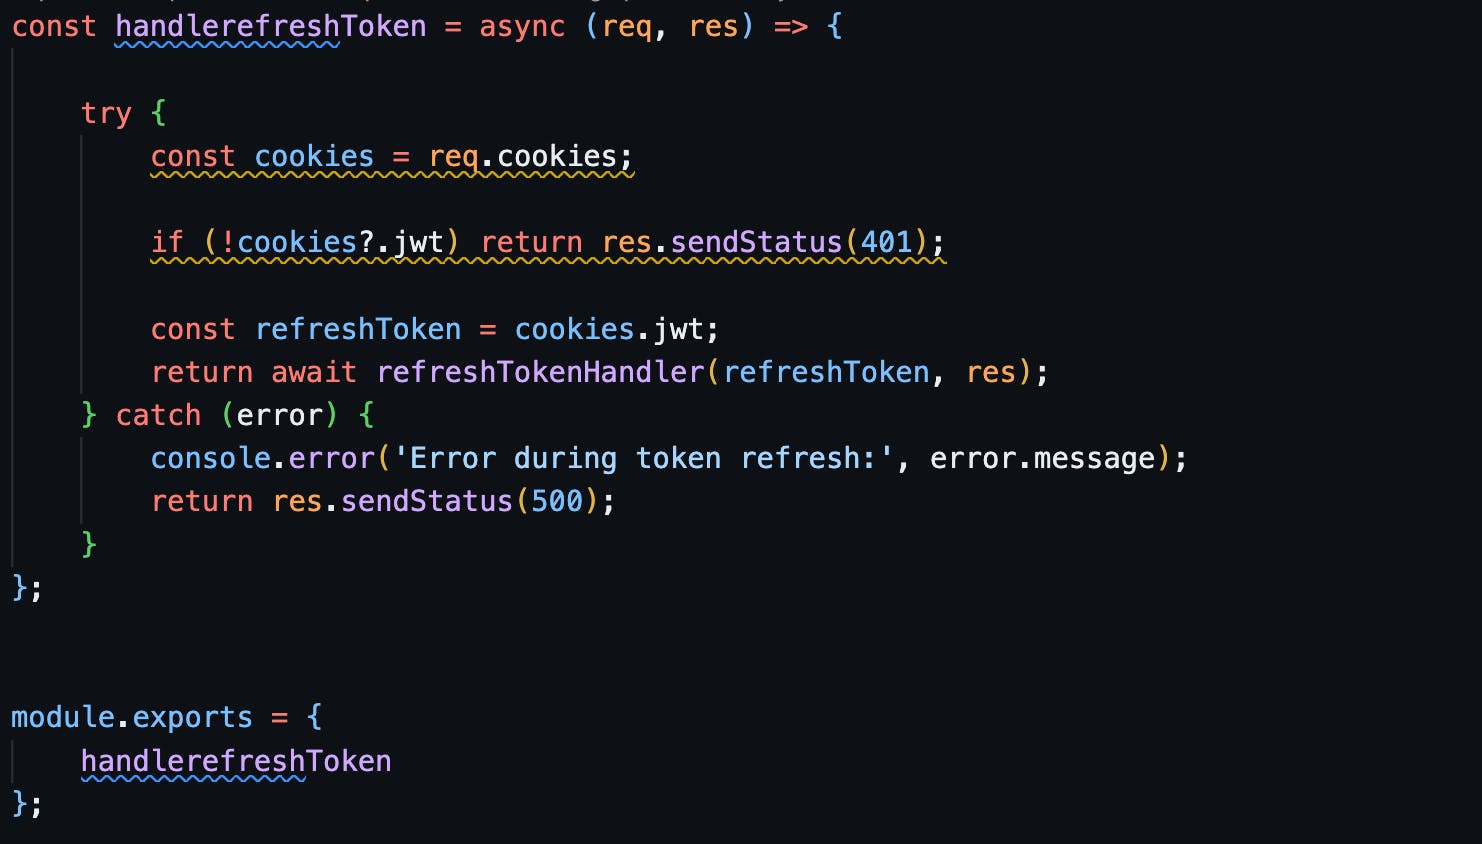
routes/loginRoute.js
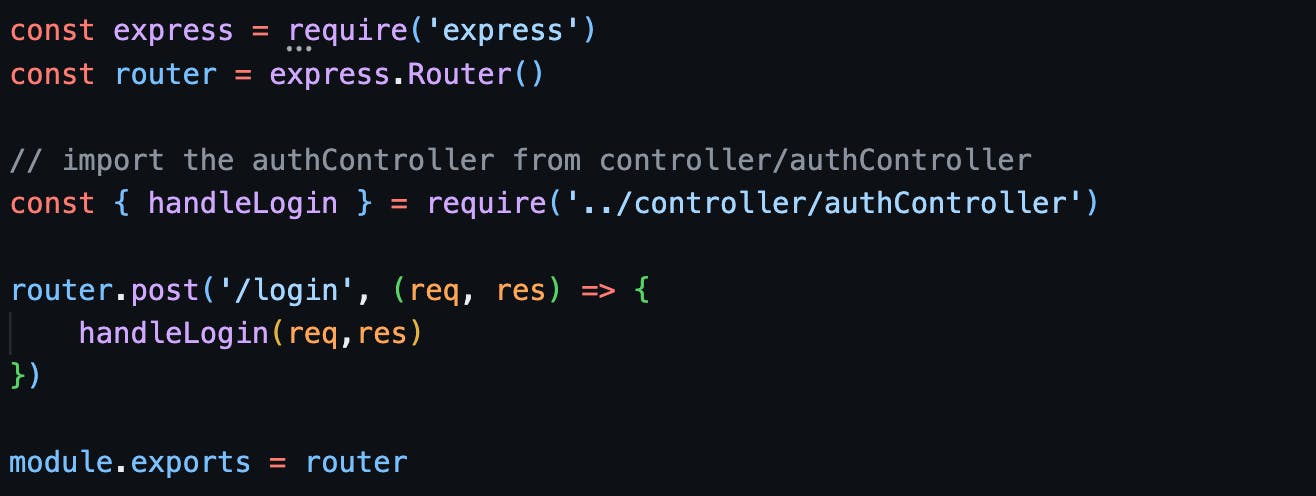
routes/refreshRoute.js

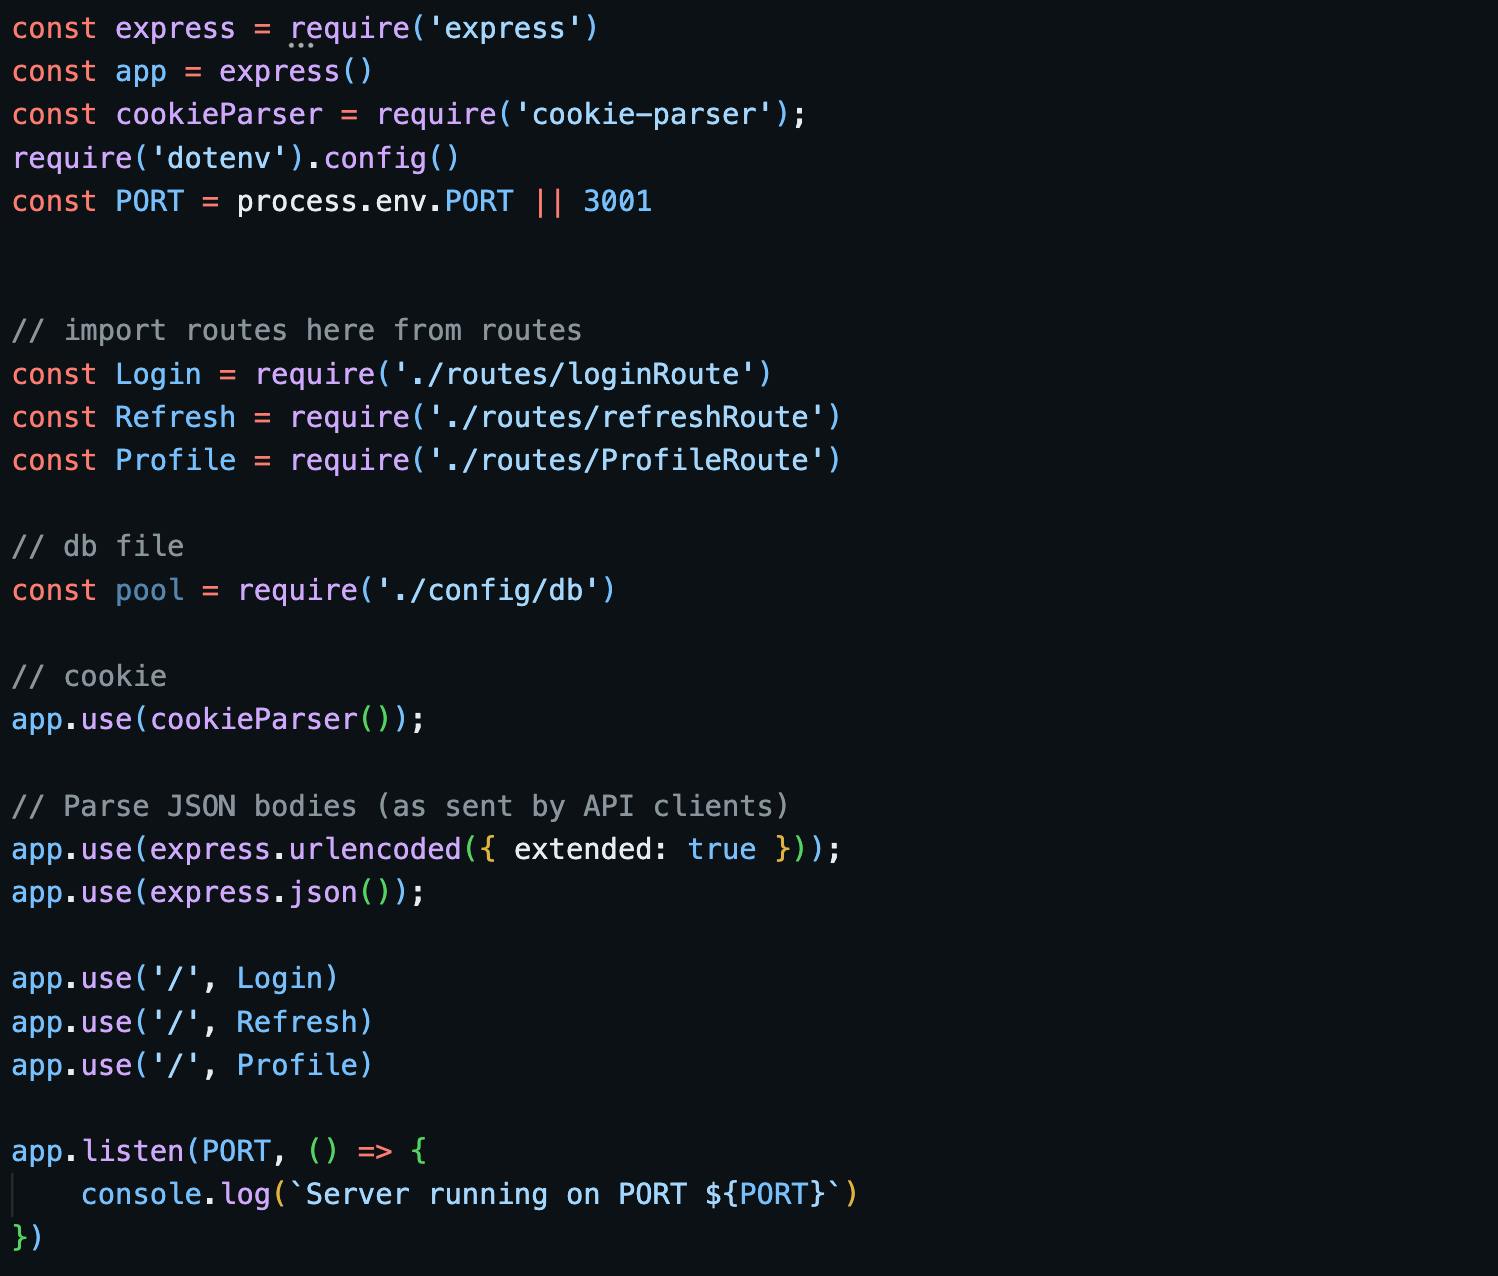
After implementing the provided code, update the 'server.js' page. This involves adding login and refresh routes, as well as incorporating 'cookie-parser' and parsing JSON bodies.
src/server.js ( updated code )
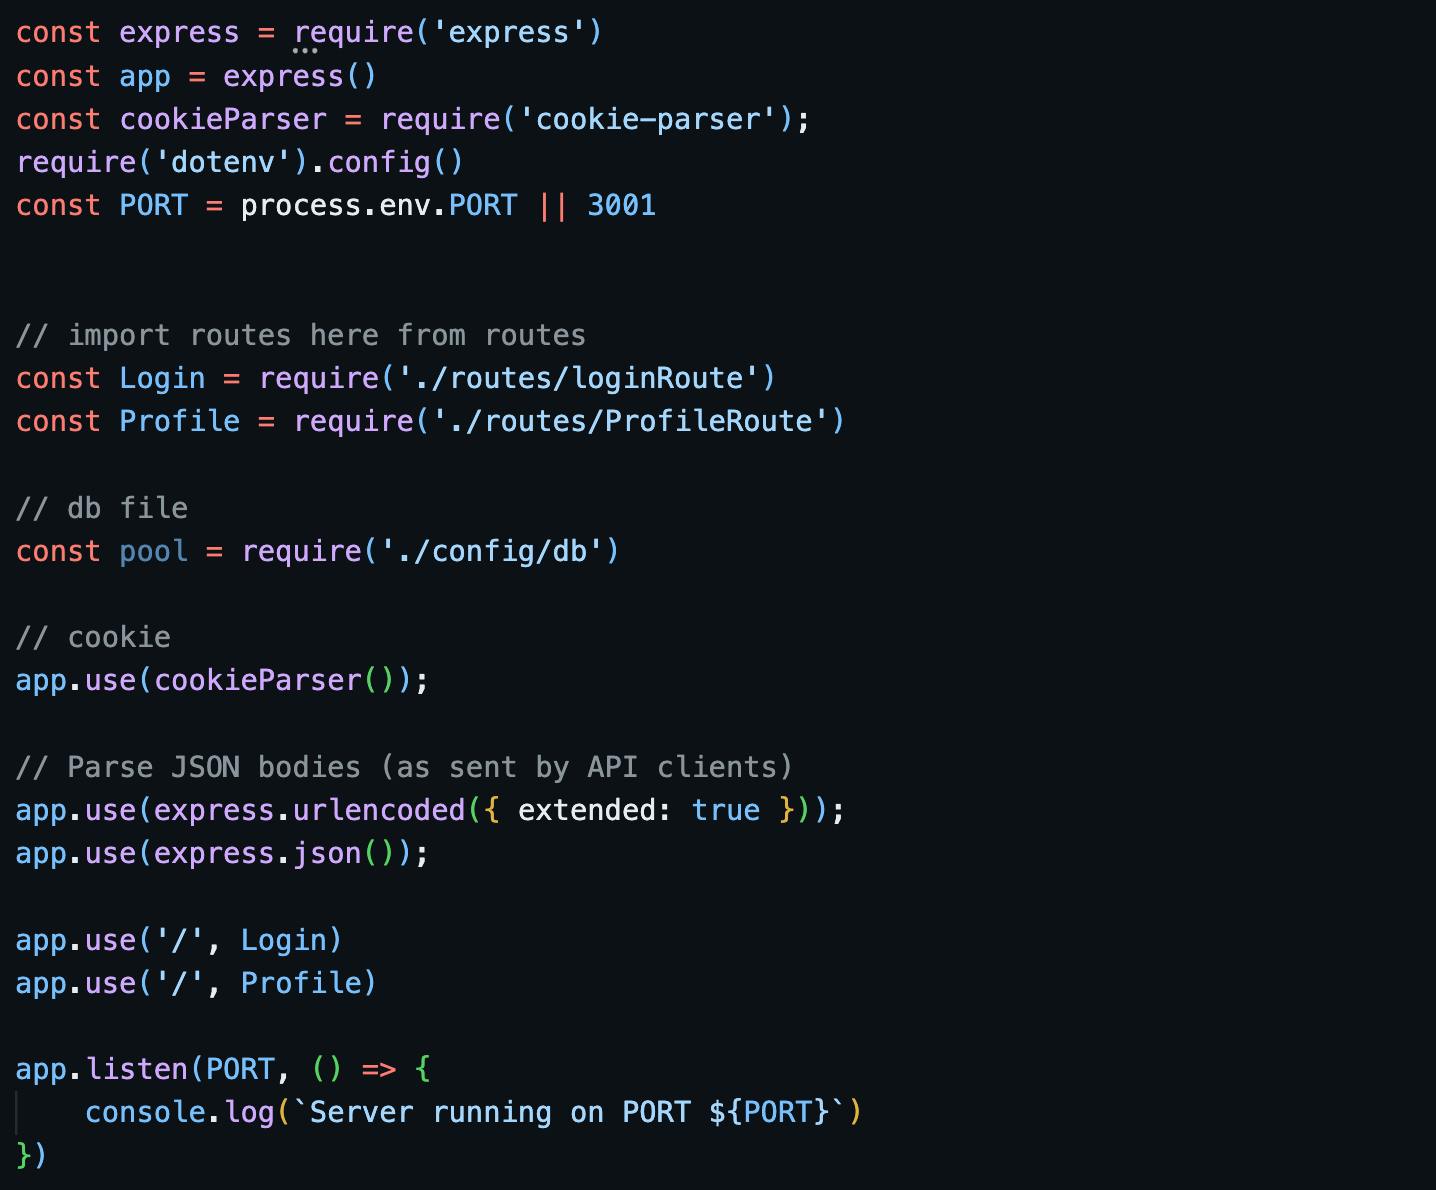
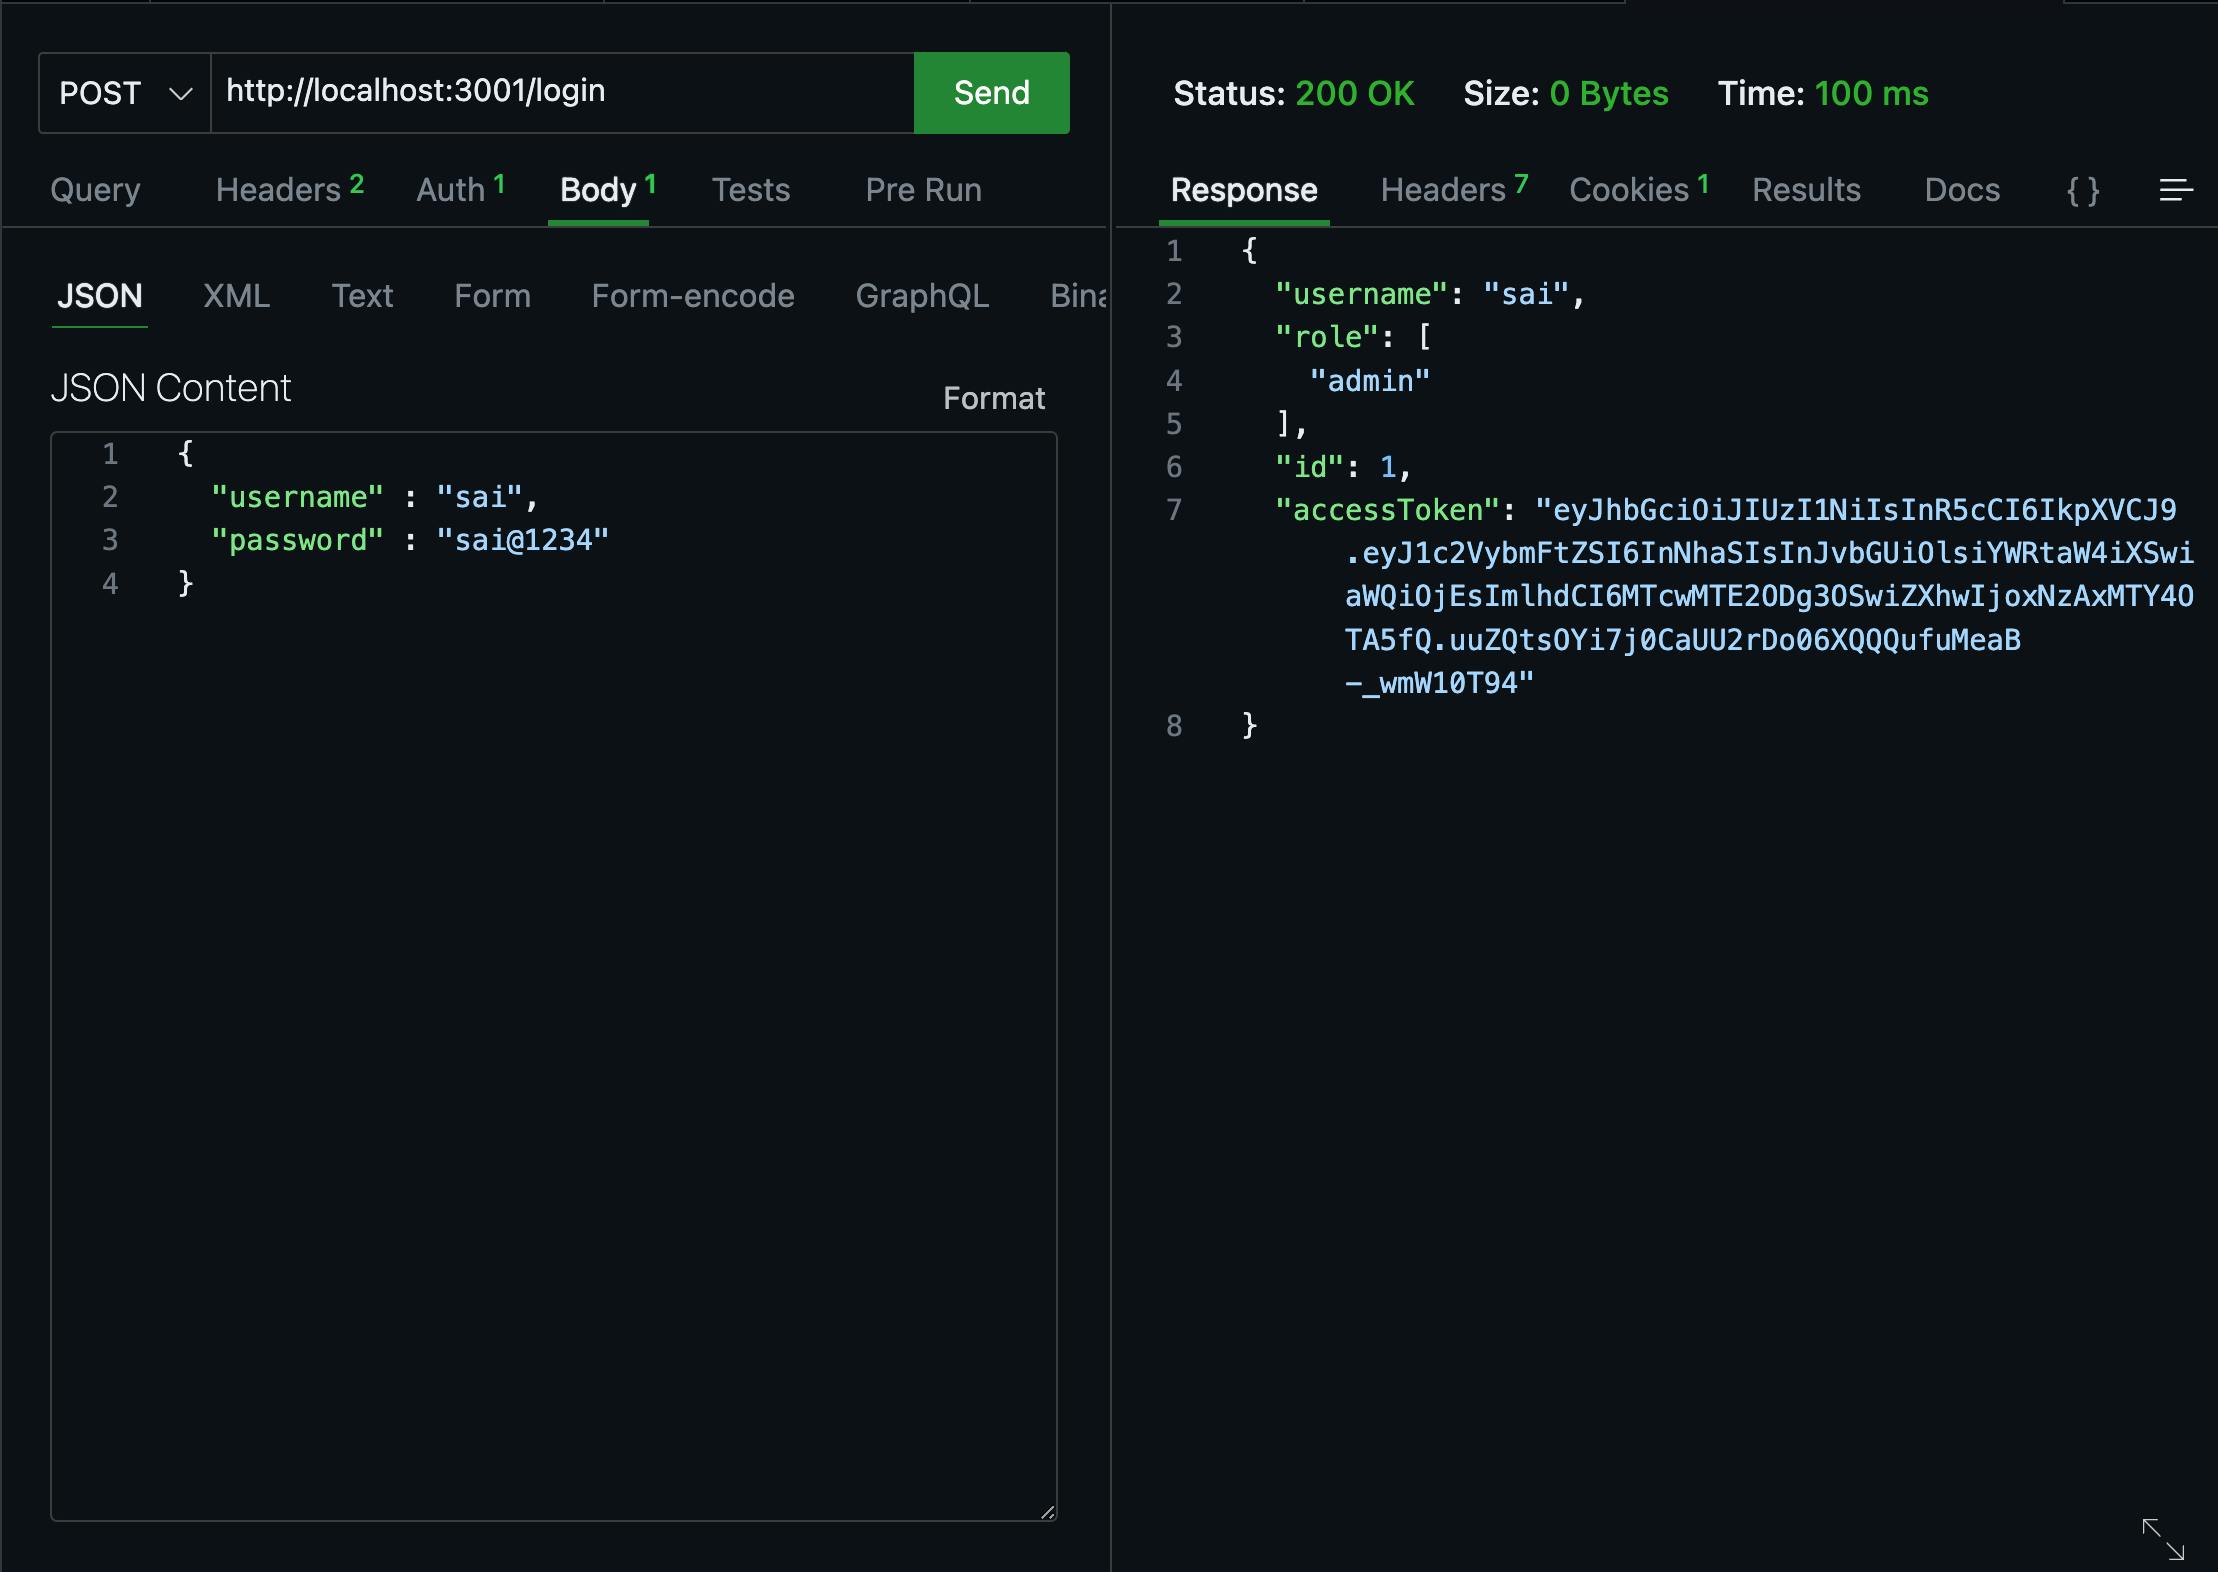
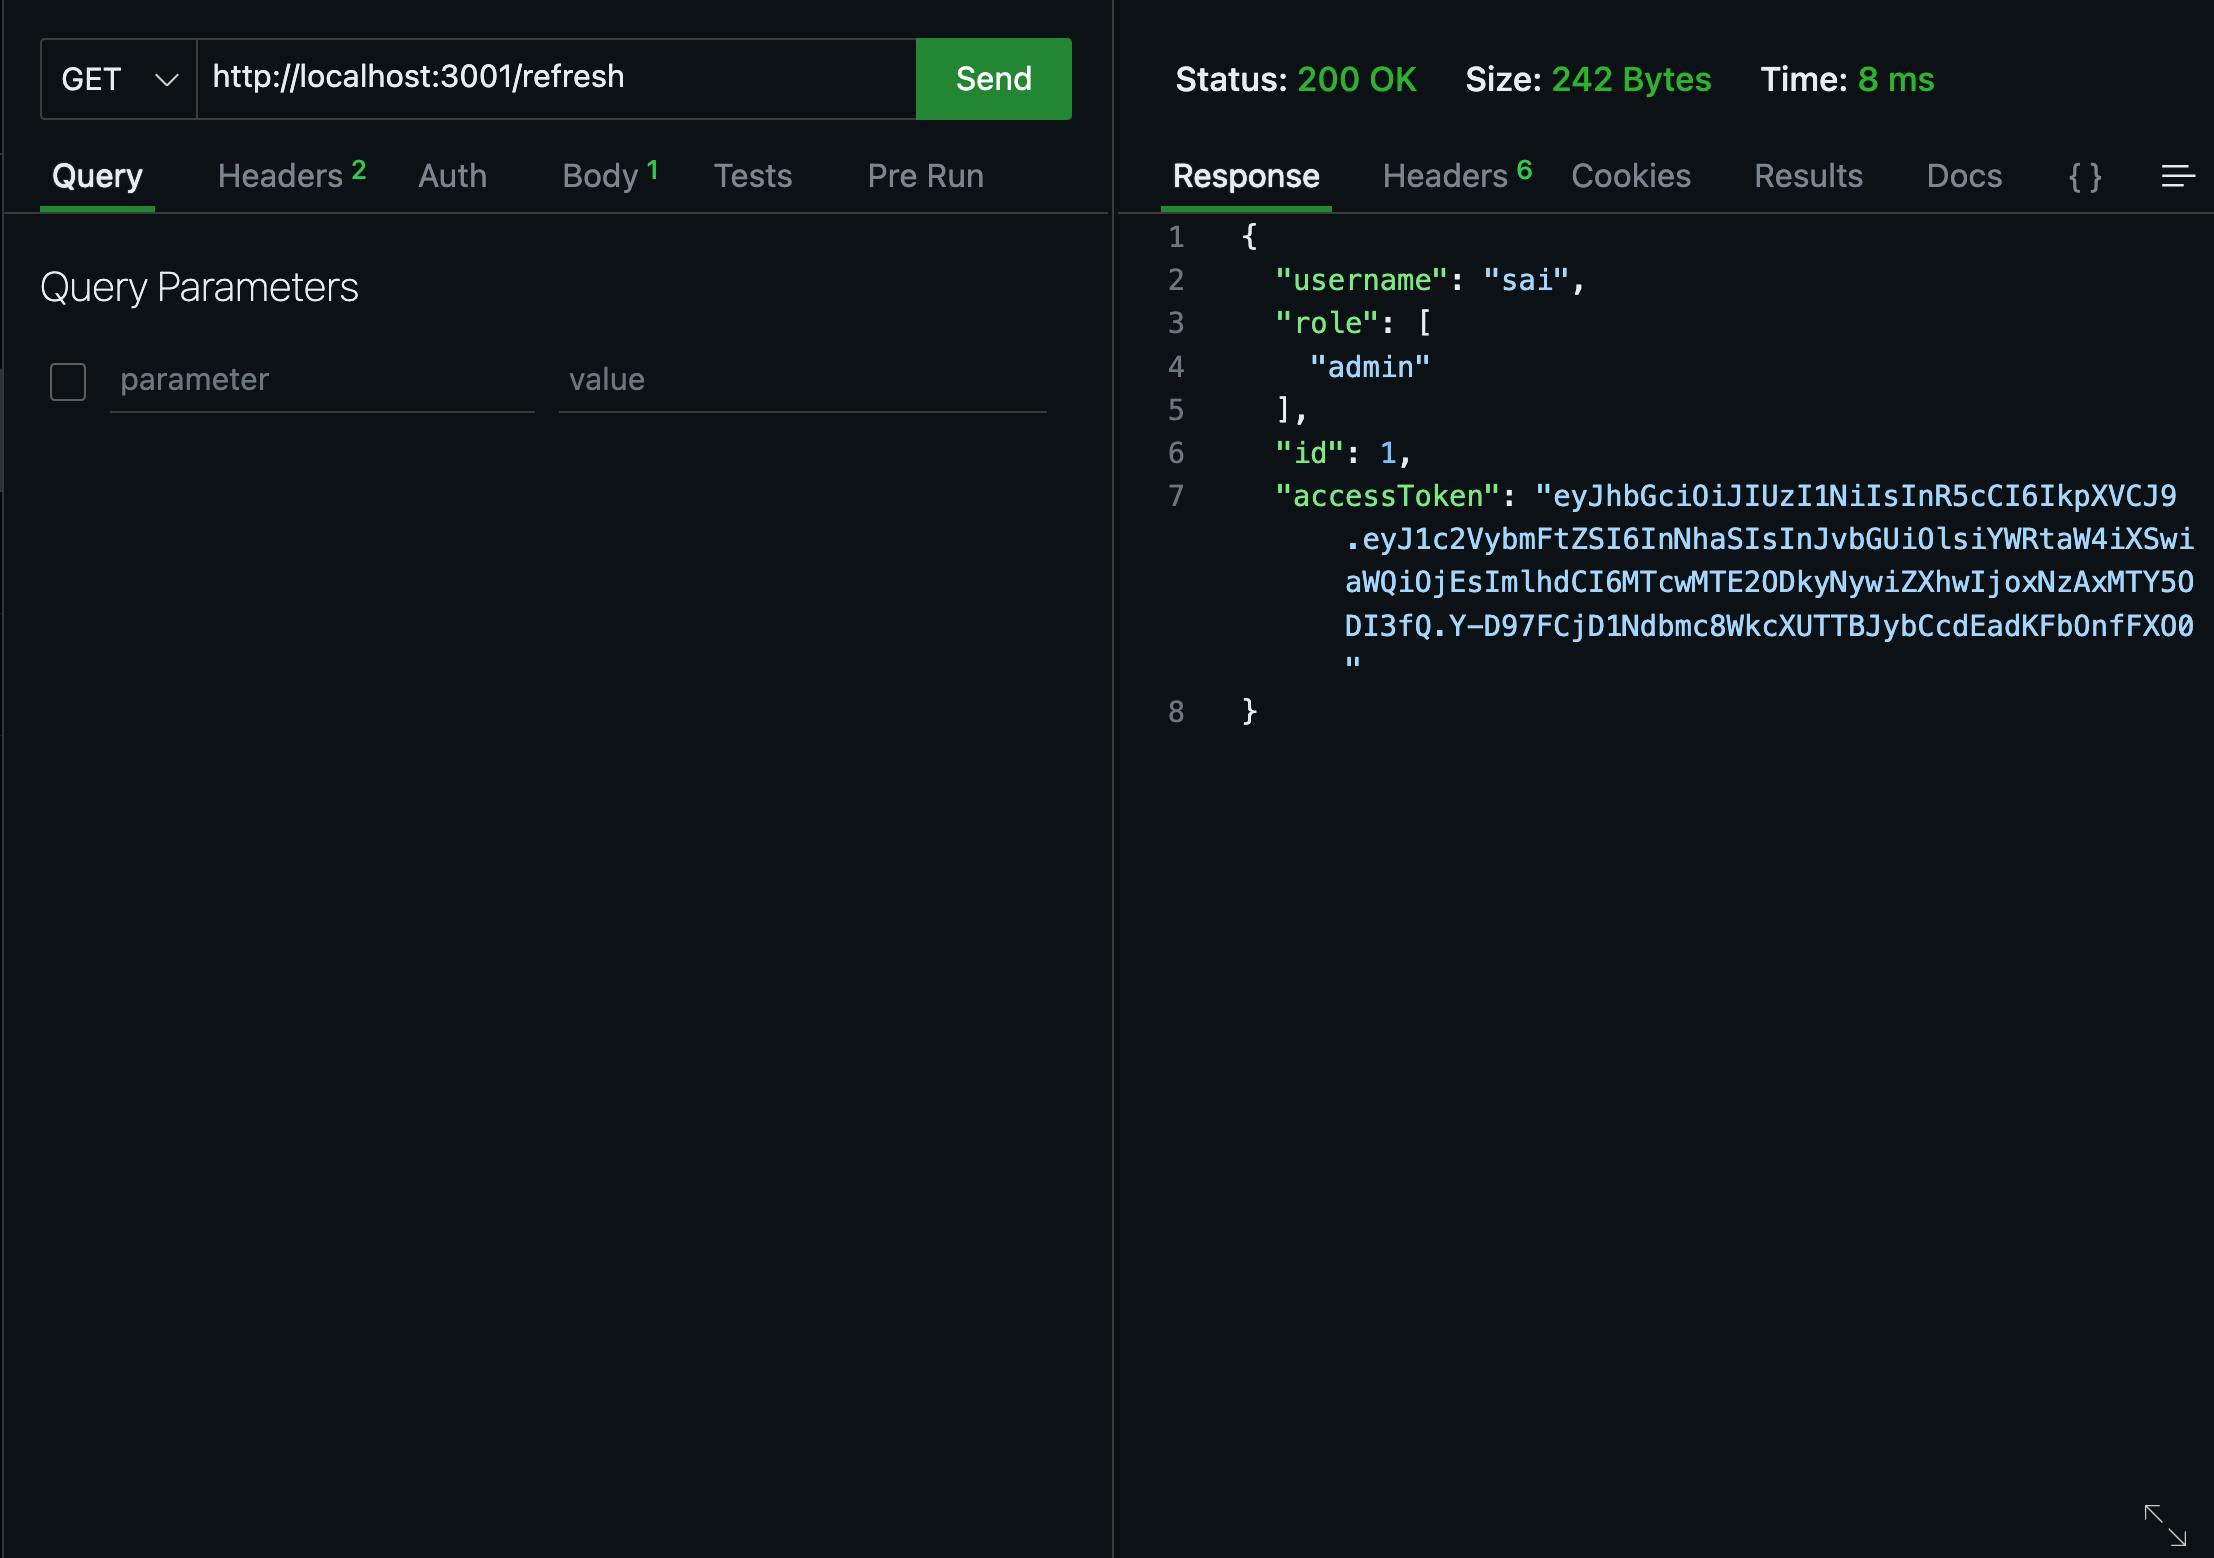
To validate the functionality of the AuthController and RefreshController, you can utilize Postman or ThunderClient. Given that our application is running on PORT 3001, you can employ the following request links for the login and refresh operations:
Login: http://localhost:3001/login
Refresh: http://localhost:3001/refresh
Note : before testing ensure you have data in your mysql table
Start the server:
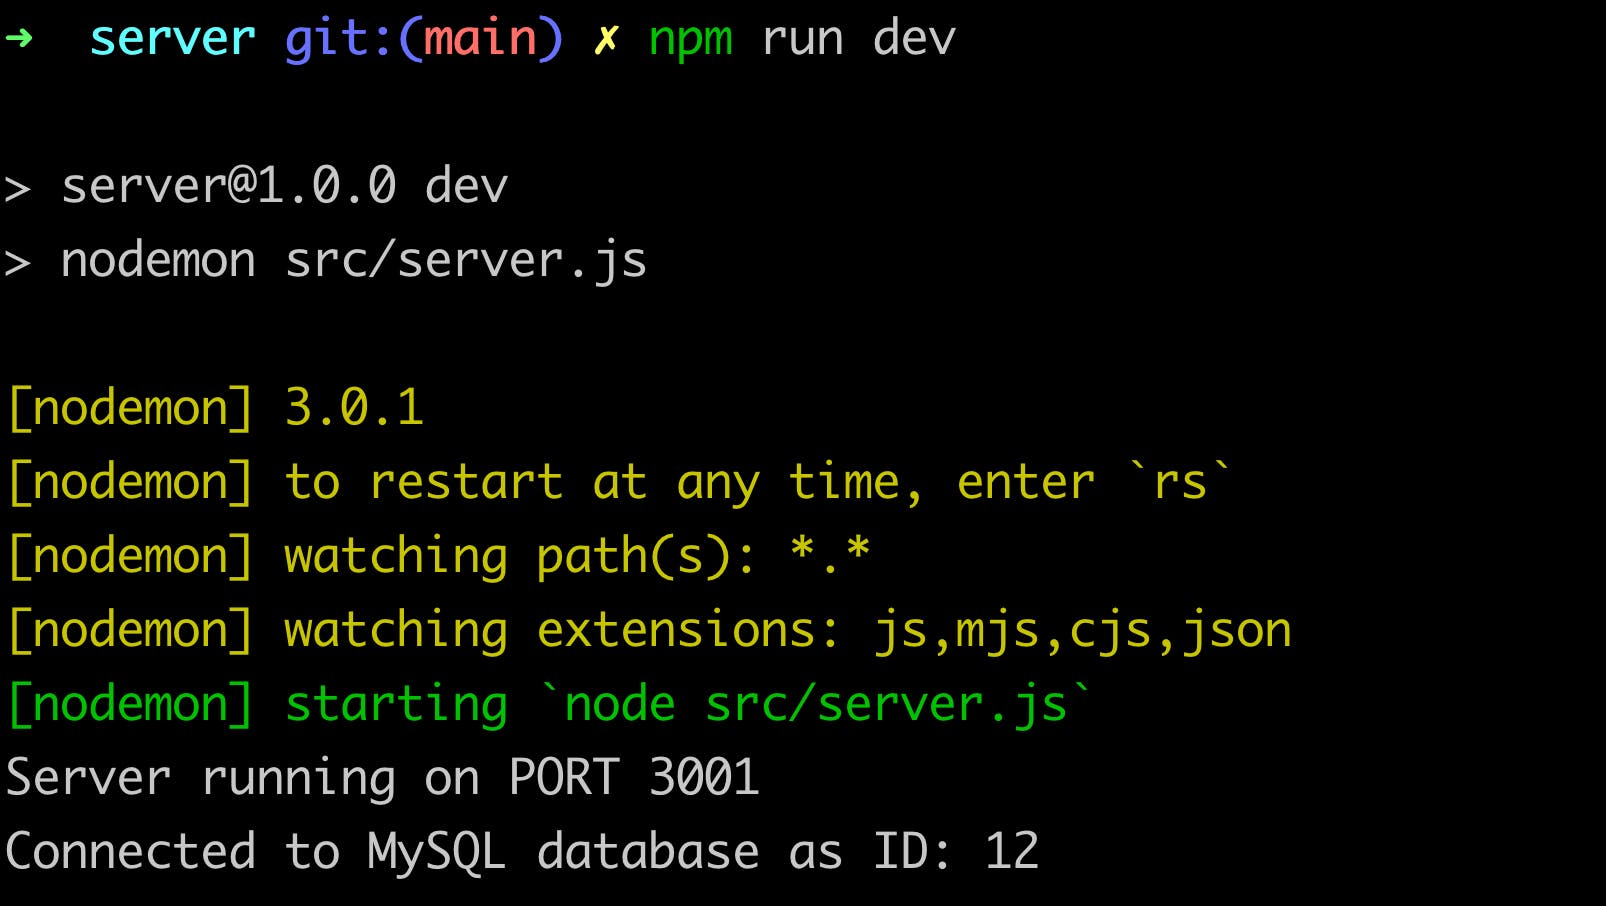
Demonstration for Testing the Login Route:
Demonstration for Testing the Refresh Route:
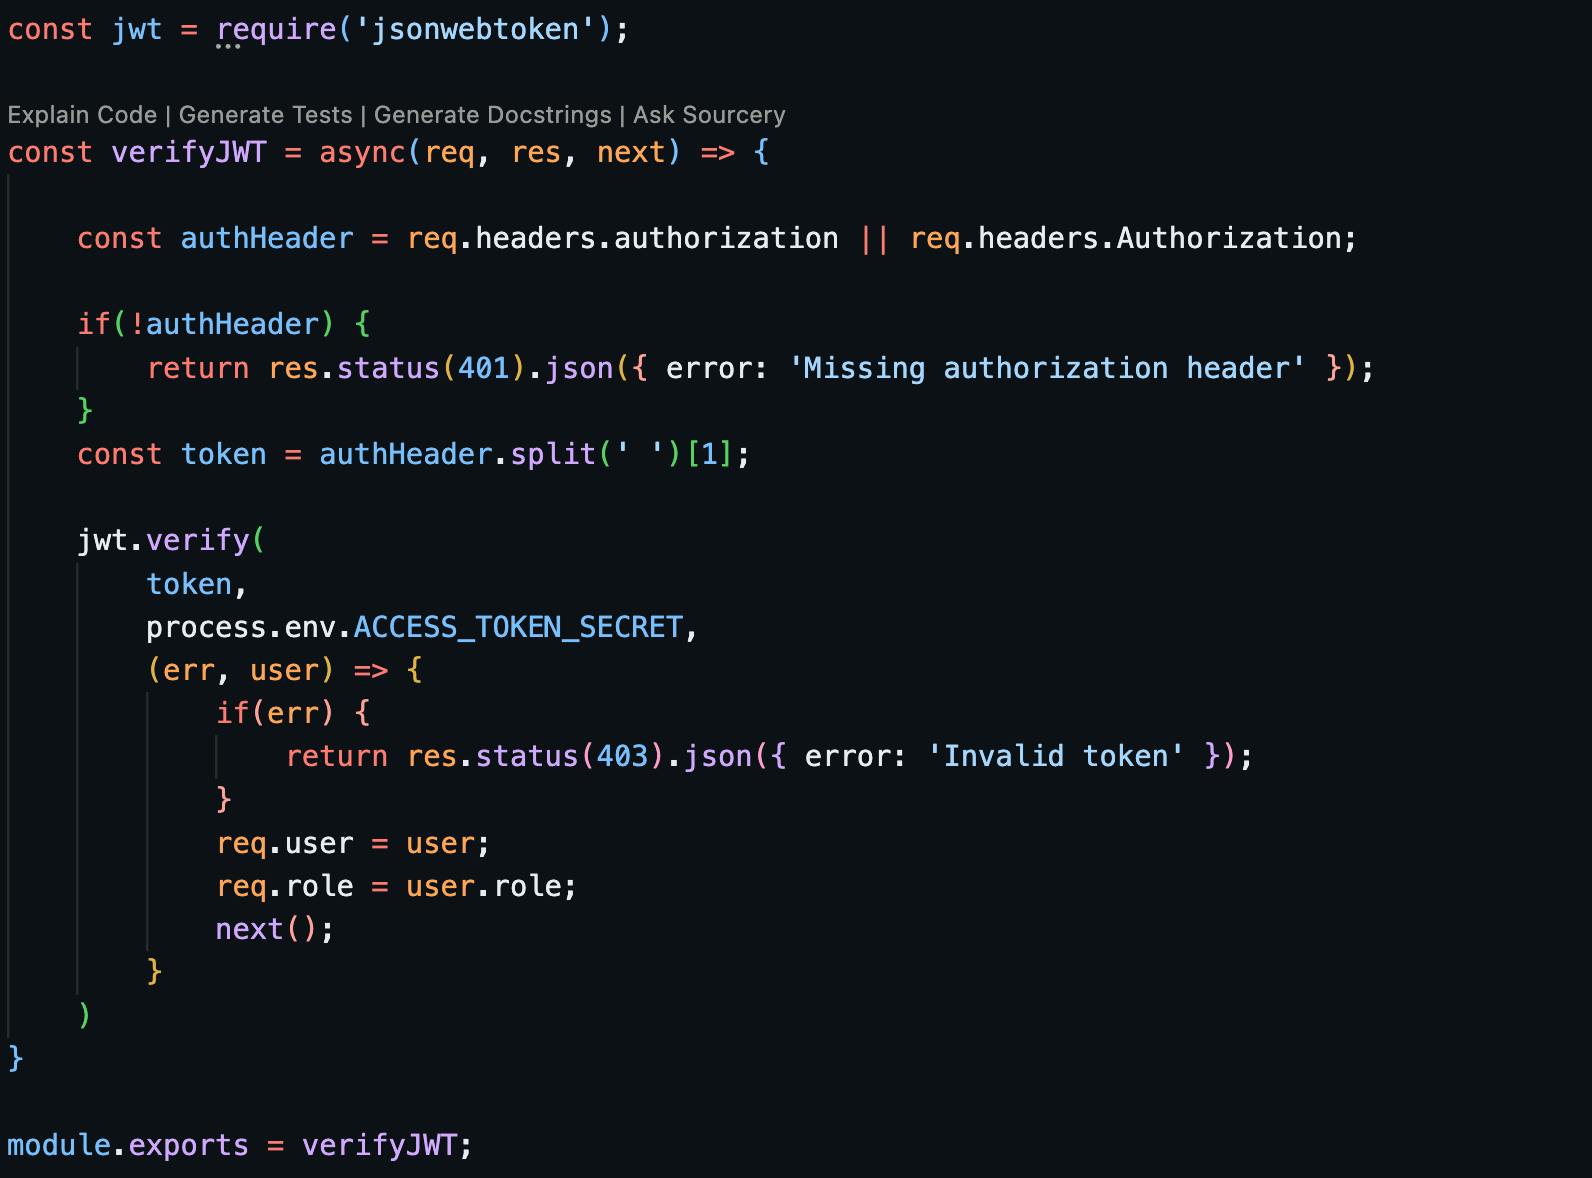
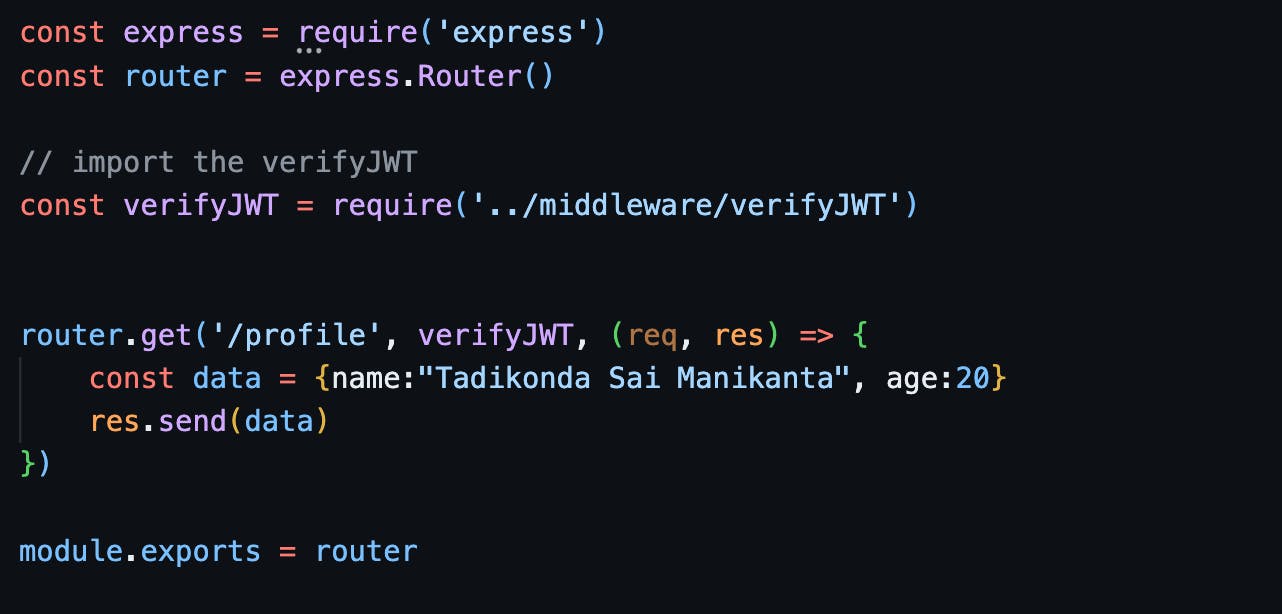
Applying JWT token verification to specific routes
middleware/verifyJWT.js
routes/profileRoute.js
src/server.js ( updated code )
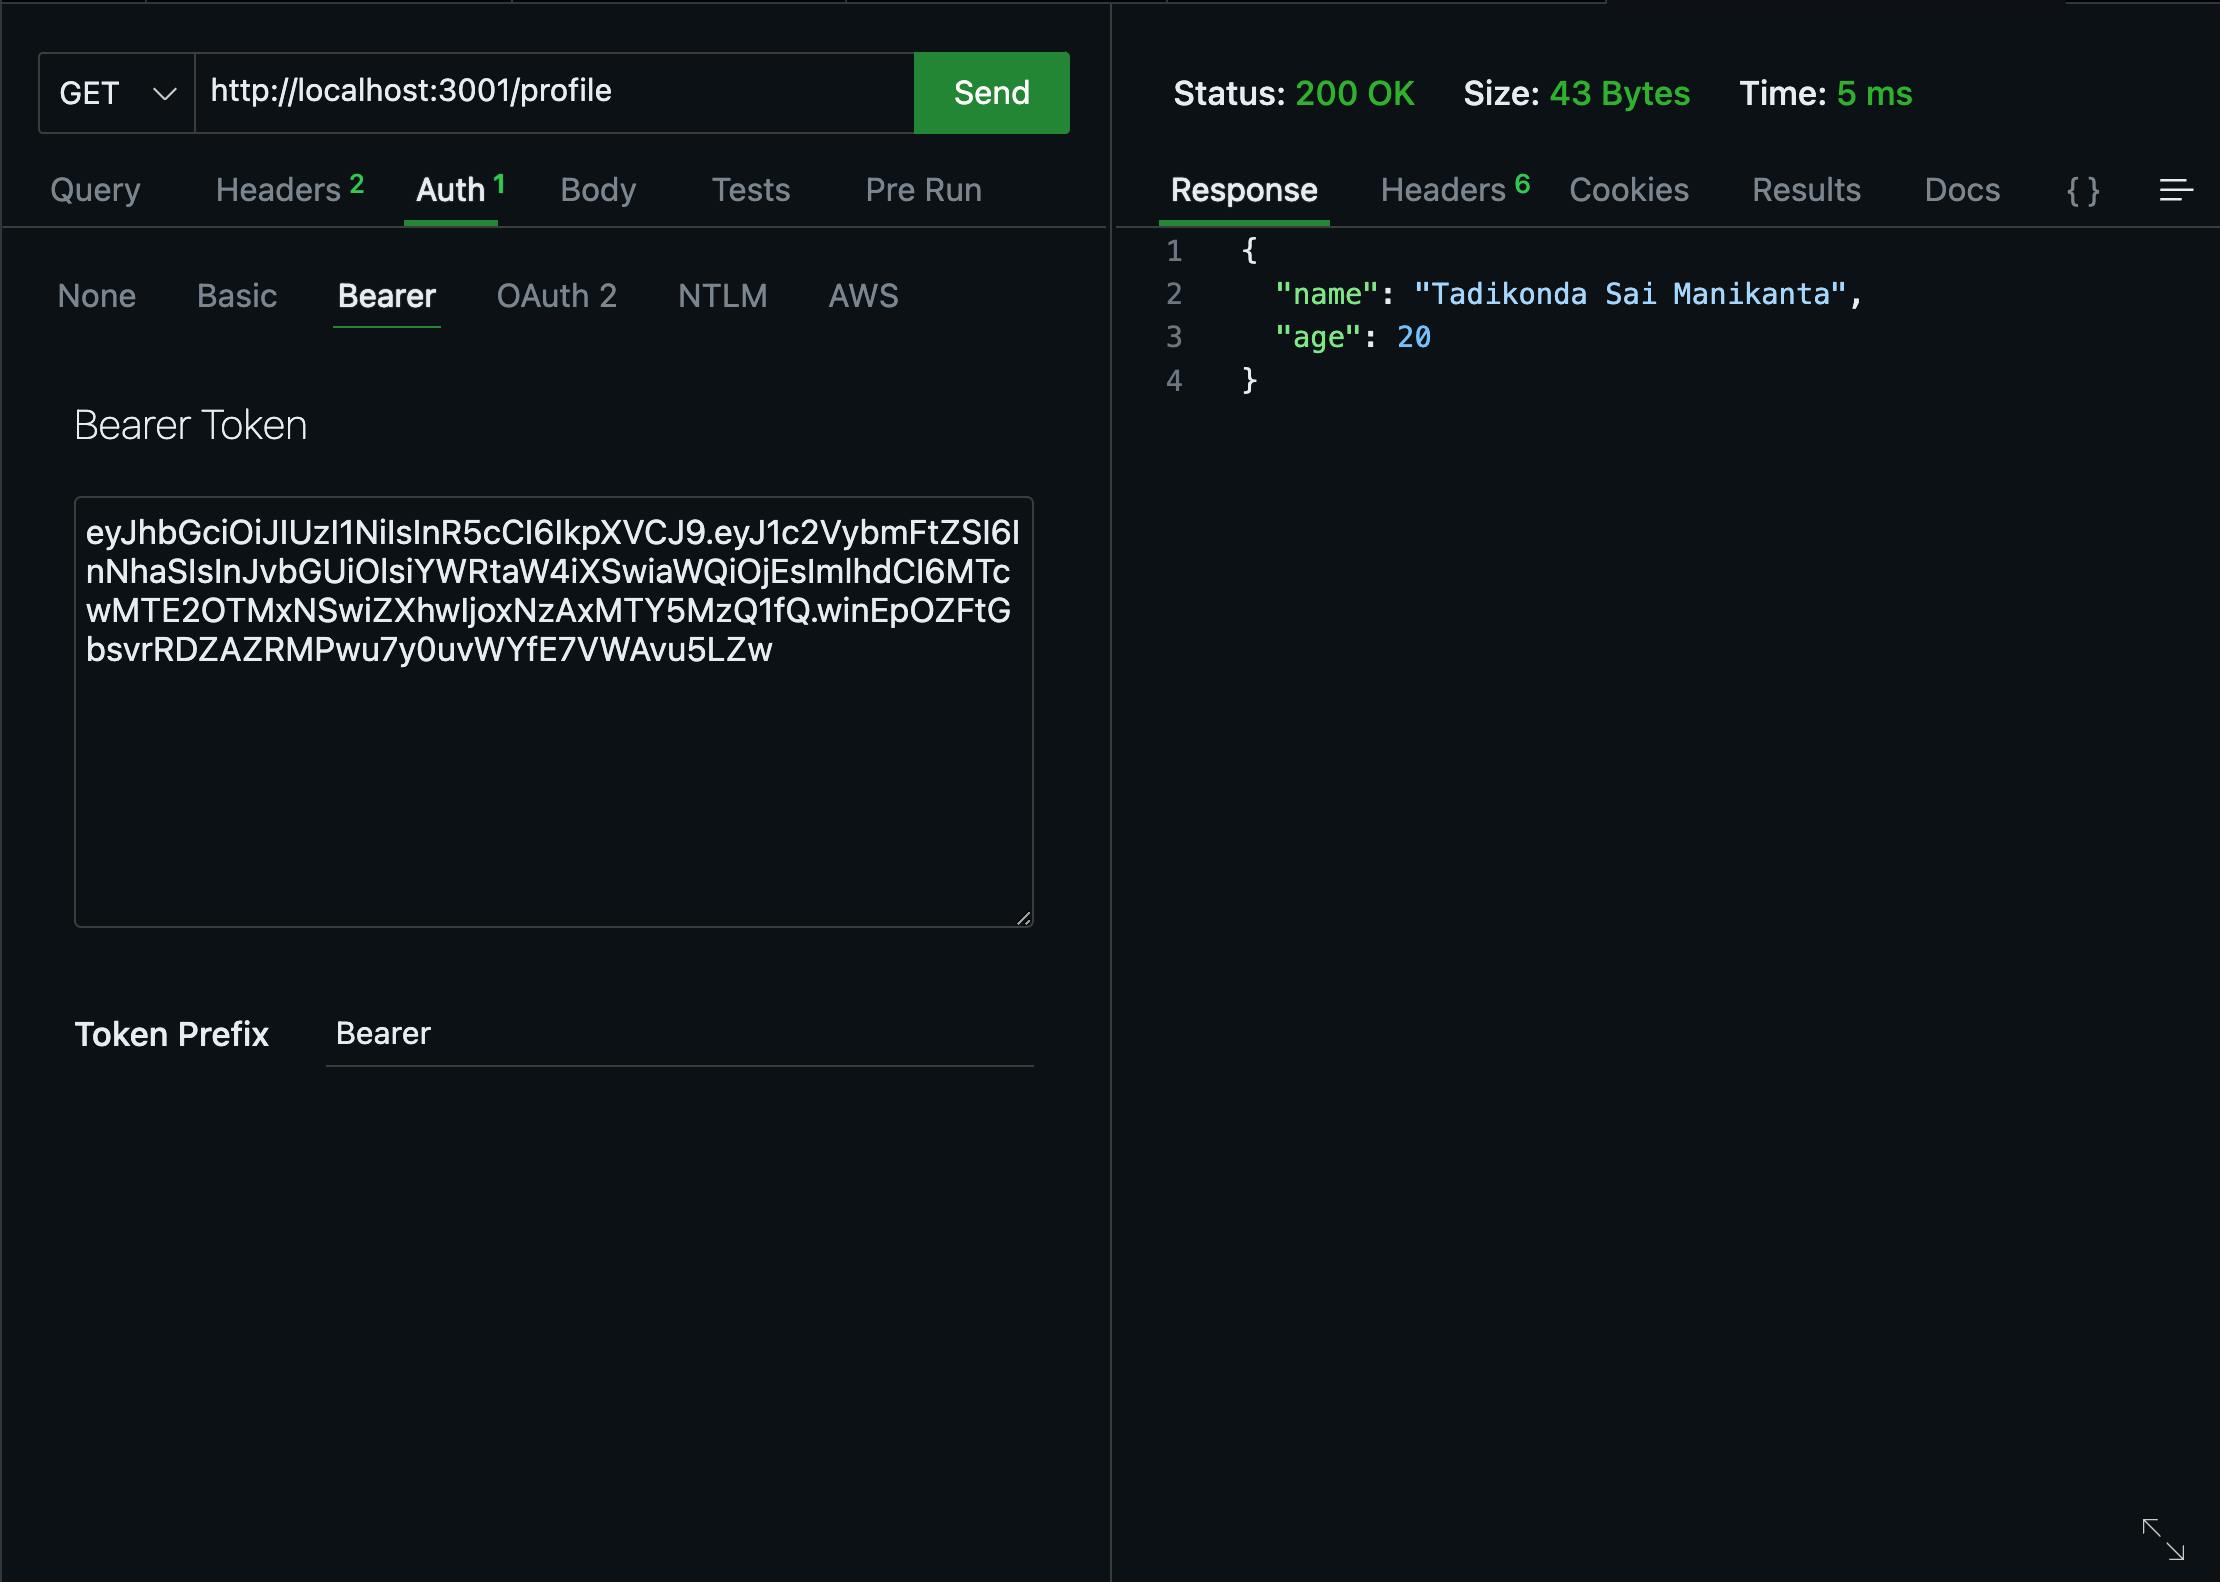
To validate the functionality of the verifyJWT, you can utilize Postman or ThunderClient. Given that our application is running on PORT 3001, you can employ the following request links:
Note: To proceed, please ensure that you send a Bearer Token, which can be obtained from the login request under the name "accessToken."
Creating a logout controller & logout route
controller/logoutController.js

routes/logoutRoute.js

src/server.js ( updated code )

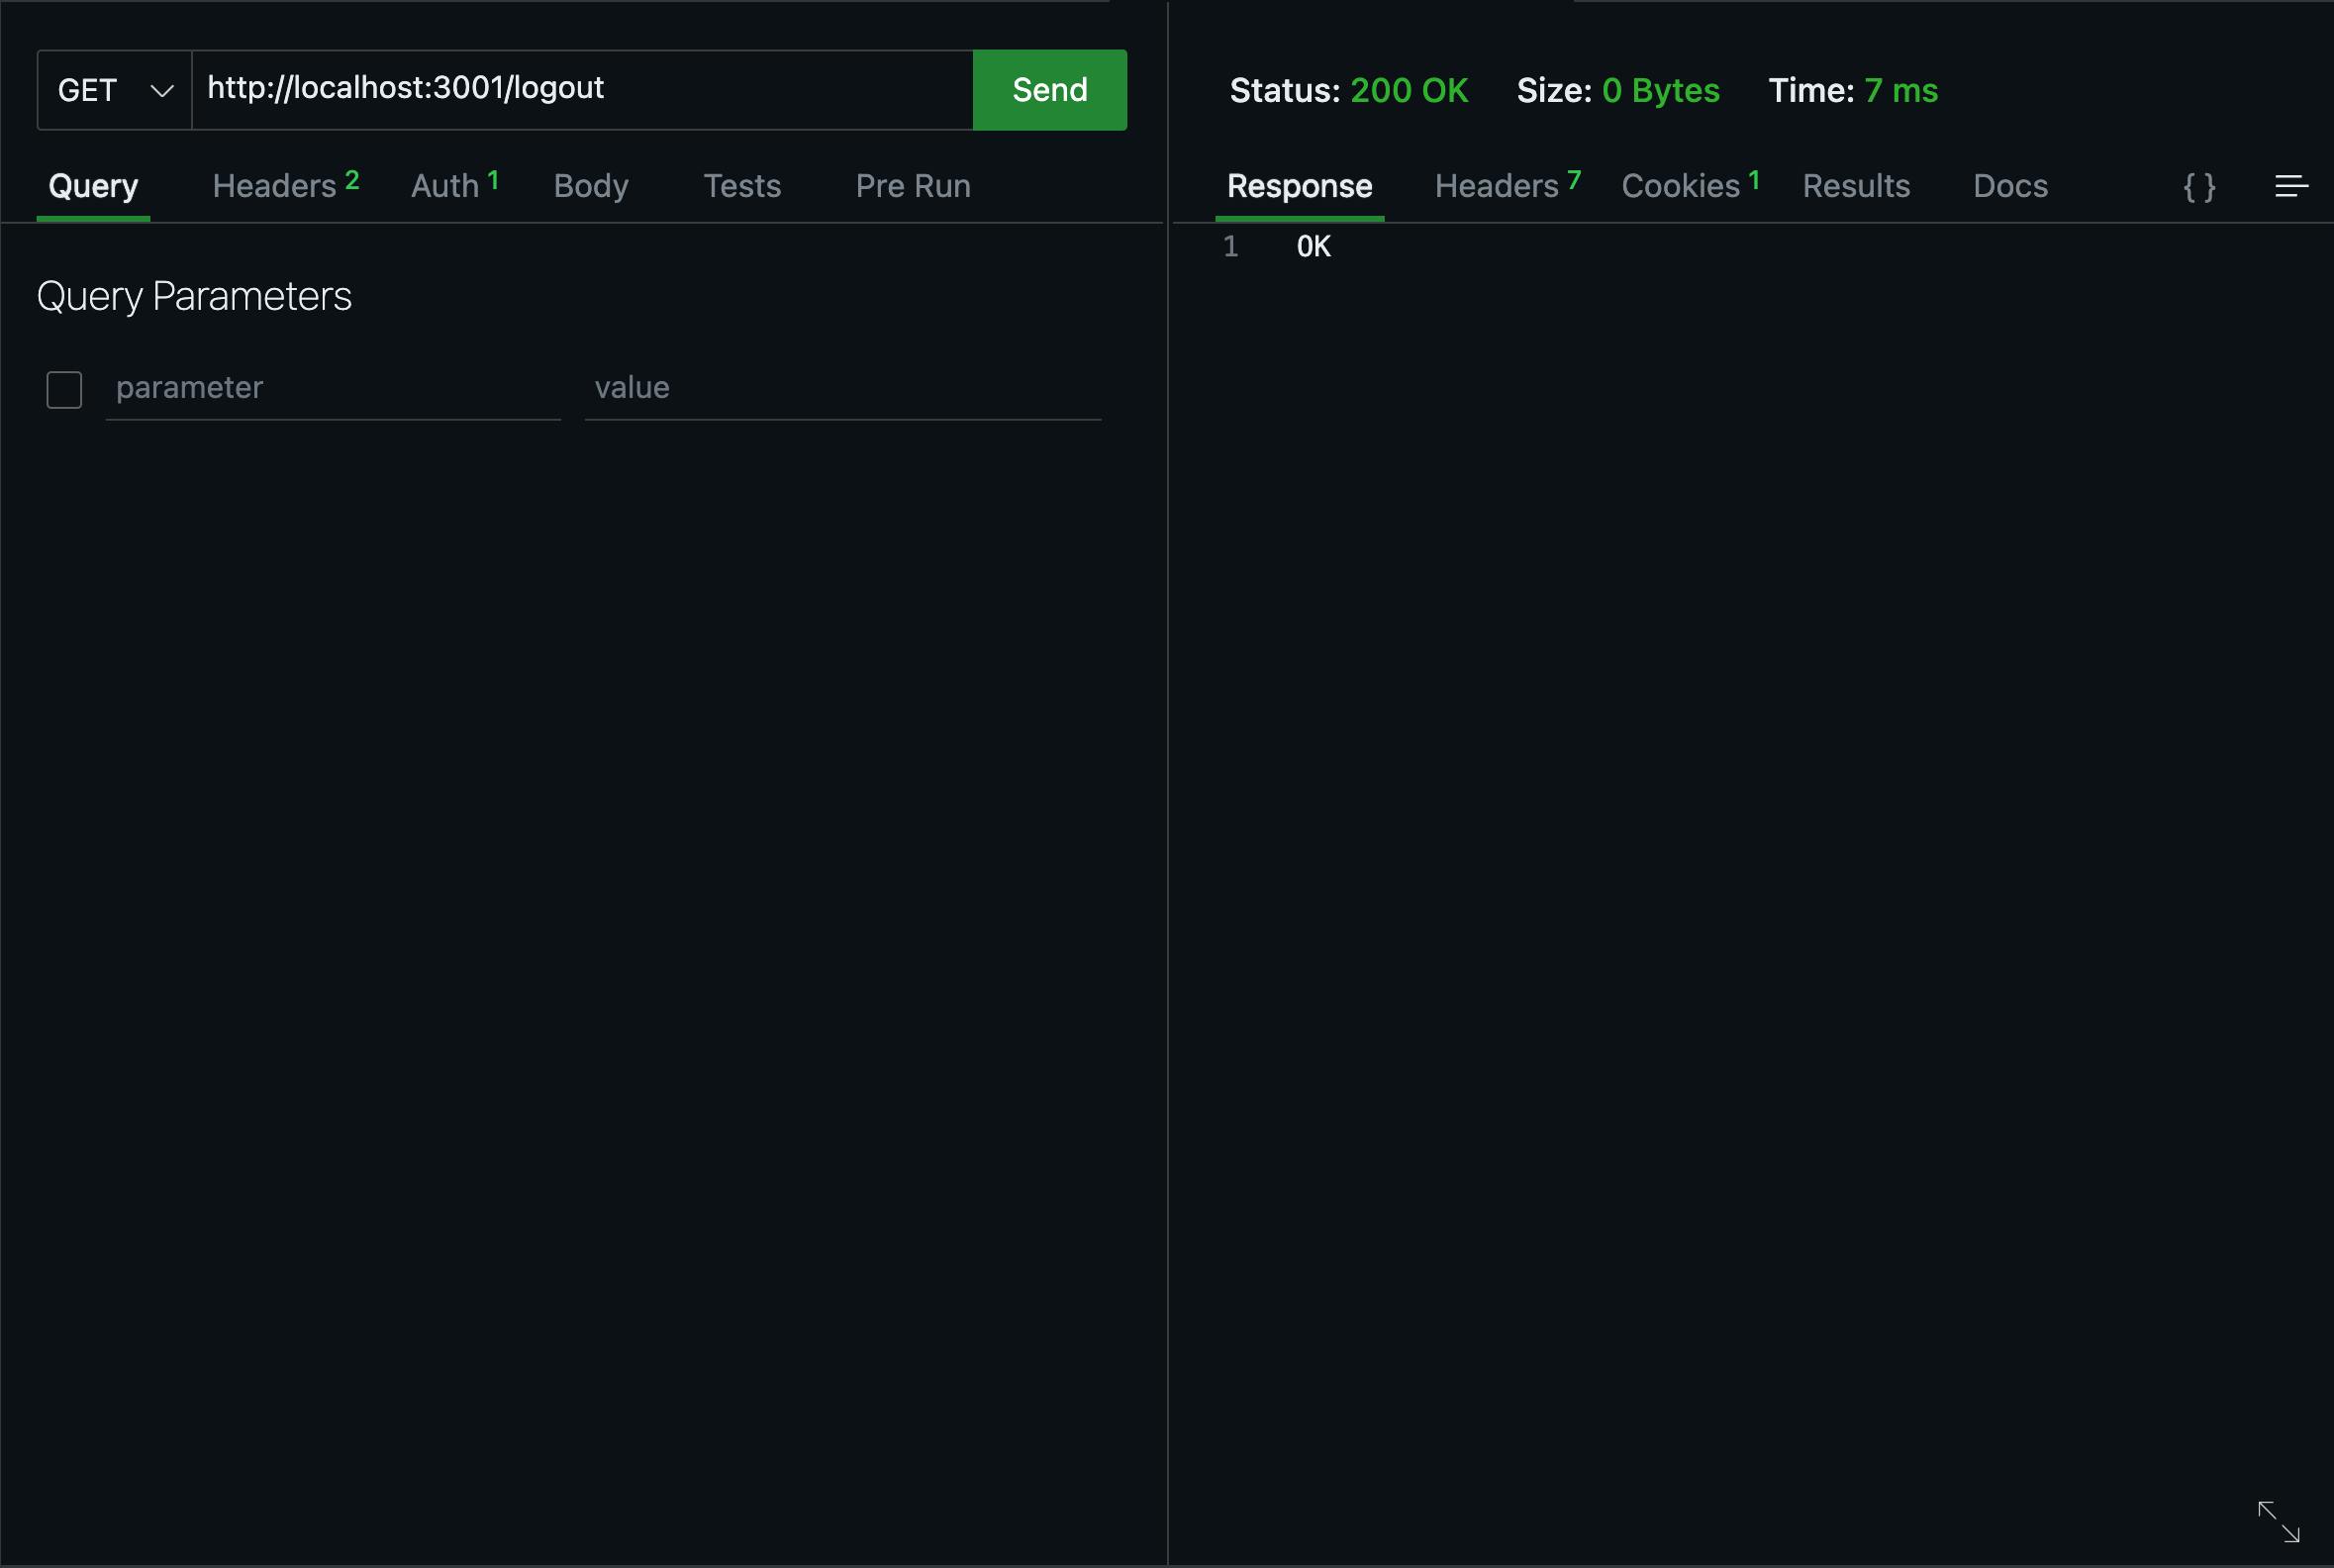
To validate the functionality of the Logout, you can utilize Postman or ThunderClient. Given that our application is running on PORT 3001, you can employ the following request links:
Thank you for taking the time to read my blog. Feel free to explore the detailed code for JWT authentication with React, Node.js, and Express on my GitHub ( Tadikonda Sai Manikanta GitHub Link ). I also want to express my gratitude to Dave Gray for the exceptional tutorial that served as a valuable resource throughout this process. You can find the tutorial here.
